Top 5 Scenarios to Use Die Cutting in Your Print Project
Do you feel like your print pieces are falling flat? Are you looking to create more depth in your marketing materials? If so, die-cutting can be the solution to give your piece a little more shape.
In the die-cutting process, a machine and tools are used to cut, form, or shear a print piece into a custom shape or design. Examples of projects where die-cutting is applied are die-cut boxes, dimensional direct mail pieces, stickers, and more!
When is Die Cutting Used?
In many cases, die-cutting is used for a functional need, such as cutting a piece of cardboard into a specific shape before it’s folded into a product or shipping box. Or if you’re creating stickers to distribute at a trade show or event, it’ll allow you to leave the backing paper on the back until the stickers are ready to use.
But there are many times when you simply want to use a die-cut for a visual impact. For example, if you want to send out a holiday card with a snow globe on it, you may die cut the print into the specific snow globe shape just for an added touch.
The great thing about die-cutting is that there are virtually no limits to what you can do with them; it’s all up to the imagination. To help get the creative juices flowing, here are the top 5 most common ways to incorporate die cutting into your next print project.
Top 5 Die Cutting Scenarios
1.Through Cutting

Through cutting cuts through the material entirely. This makes it easier to separate the print project from the surrounding material or so you can cut a shape into your design. Examples of such are used for die-cut packaging boxes to remove any excess cardboard that is not part of the box. Or it could be used to cut out tree branches and leaves to make a card stand out.
2.Kiss Cutting

Kiss cutting is most frequently used for adhesive-lined materials like labels or stickers. In this die-cutting process, the die cuts through the surface and the adhesive layer but leaves the backing layer so you can easily remove them one at a time. This can best be shown with the ‘Juice Quest Juice Bar’ sticker above.
3.Scoring and Creasing
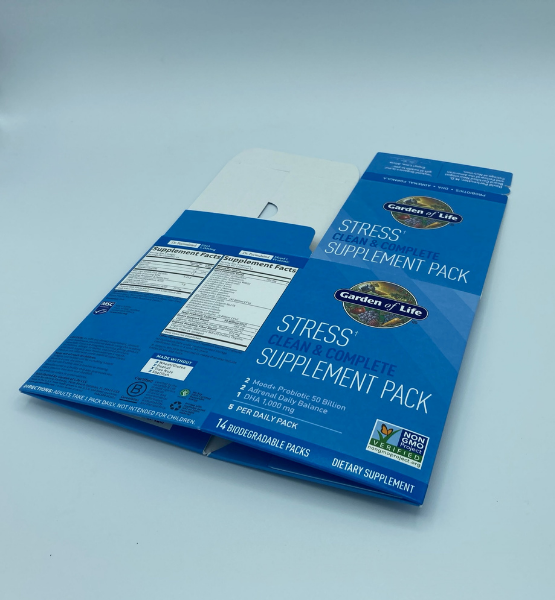
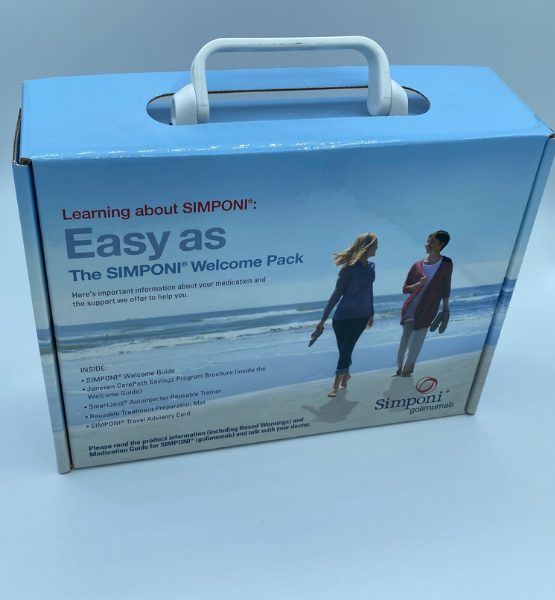
Unlike the other methods of die-cutting, scoring and creasing don’t completely cut through the print material. Instead, ‘scoring’ leaves a die impression about half as deep as the material, and ‘creasing’ creates an inward bulge to help reduce stress on the fold line. In both methods, neat, folded edges are created. This method is especially helpful for custom die-cut packaging where a crease can make it easier to fold the package in an assembly line.
4.Perforating
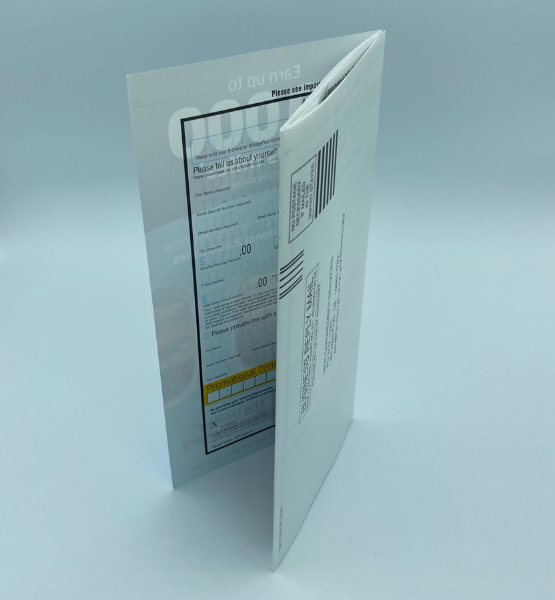

When a print piece is perforated, a series of small holes are made around the section, making it easier for someone to tear out that section later. These types of die-cut applications are great for business reply cards or coupons that are part of a printed brochure or magazine.
5.Stripping

Stripping is a die-cut technique that is used to create or remove oversized shapes and letters. This method can be used to remove windows or doors from a printed home or in the example above, to create a triangle so you can see the different images when you spin the wheel on the side of the booklet.
No matter how you decide to incorporate a die-cut design into your print piece, the die-cut finishing method is a great way to create attractiveness or functionality to promotional material. If you’re looking to incorporate a die-cut into your next project, Phillips Graphic Finishing can make the cut. We’ll guide you through every step of the way to identify the optimal approach, so your die-cut design is just right. Reach out today to get your free quote.